Written by Molly Schwab – October 14, 2026
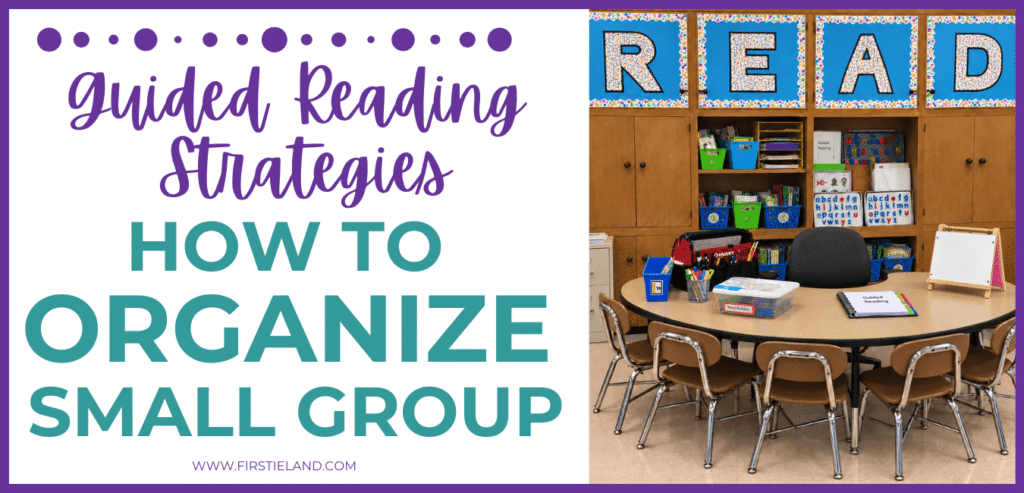
On a good day, you might get 15 full minutes for each group during small group instruction. But when you’re searching for books or teaching materials, the minutes tick by while your students wait. So, if you’re planning your guided reading strategies, the first place to start is organizing your small group area.
There are 5 things to keep in mind when organizing your small group instruction area: location, seating, teaching materials, storage and efficiency. In my first-grade classroom, I found that keeping everything at my fingertips helped me make the most of that time so in this post I’m sharing my tips for organizing the space and supplies you use for reading instruction. Let’s first focus on getting your area ready so you can put your reading strategies into practice.
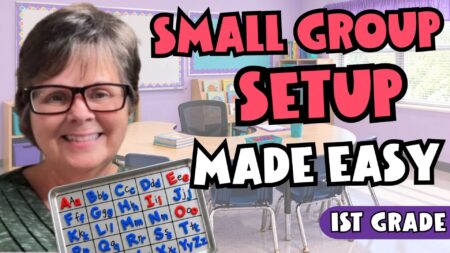
1. Choose a Small Group Table Location
The first thing you’ll want to think about is placement. Put your small group table where you can see the whole class, without tall shelves or cabinets creating blind spots. Because guaranteed, the kids will find those spots, and that’s where the trouble is going to happen!
You also want to avoid sitting with your back to the students or classroom door. When you’re teaching a small group of students, you still need to see everyone doing independent work and have a pulse on what’s happening in every area of your classroom.
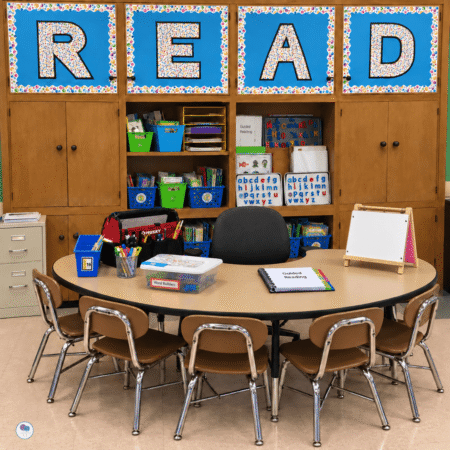
Try to choose a quieter area, away from noisy centers where kids are rolling dice or playing games. In my classroom, my writing center was on my right and my teacher desk was on my left, so it was quiet.
And lastly, as you’re thinking about the location of your small group area, position your table where you have room to store materials, maybe near a shelf or cabinet. I had built-in storage shelves and cabinets against one wall, so it was the perfect place. I could store most of what I needed without taking up any more classroom space.
2. Arrange Seating to Reach Every Student
Once you’ve chosen your small group location, the next thing to think about is the seating itself. If you’re lucky enough to have a horseshoe table, they really are the best option for small group instruction. They may take up a little more space in your room, but the curve in the table allows you to be close to every kid while giving everyone room to work.
If you don’t have a horseshoe table, the next choice would be a long rectangular table. You can sit behind it and move up and down to help different kids. I had a rolling desk chair so I could easily move around to help anyone.
And finally as you’re planning your small group space, be sure there’s plenty of room for kids to move around and pull their chairs in and out.
3. Keep Reading Materials Within Reach
Once your small group instruction area is set up, keep your most-used materials within reach. As you’re planning your guided reading strategies, there are certain materials you’ll use every day. Keep these materials handy so you don’t have to leave the group to get things you need. Below are some of my favorites that I used daily:
1. Red and Blue Magnetic Letters
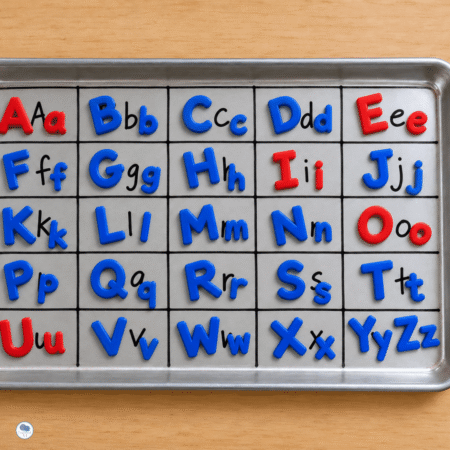
My number one must-have was red and blue magnetic letters. These were a daily part of my guided reading strategies. I made six sets of letters so that each student would have their own to work with.
I purchased inexpensive magnetic cookie trays from Dollar Tree and drew grid lines with permanent marker. Then I wrote the alphabet letters in each square and added the matching magnetic letters. This made it easy for kids to replace the letters quickly after our word work lessons.
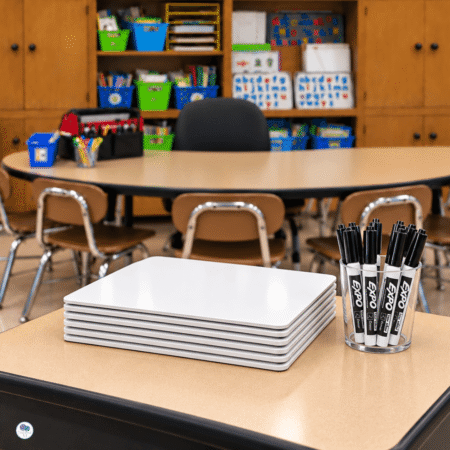
2. Small Dry Erase Boards
We also used small dry erase boards and markers every day. These are great for word practice. Kids could follow along on whatever our lesson was for the day and there was no need to waste paper.
3. A Supply Toolbox
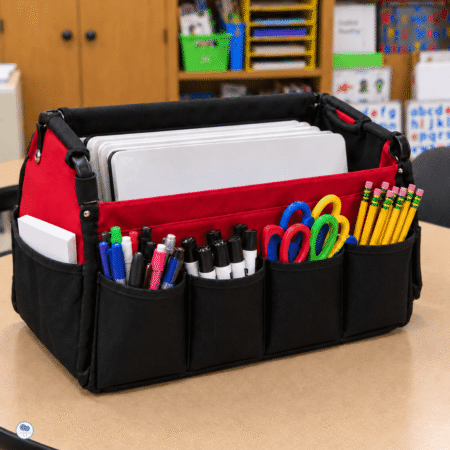
Another important material at my small group table was my toolbox. It had pockets all around the outside and this is where I kept small supplies like pencils, scissors, glue sticks, Expo markers, index cards, paper clips, and tape. The inside held larger materials like our dry erase boards. It was very handy to keep at the table and everything I needed was right there.
4. Phonics Games
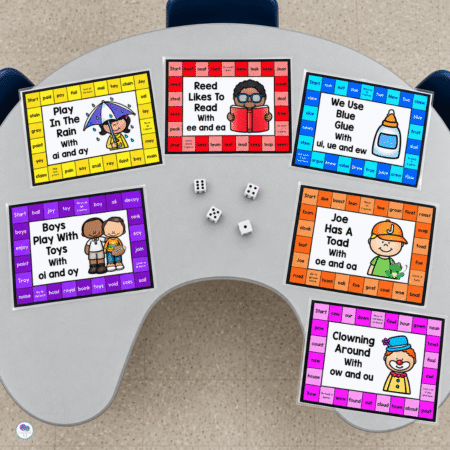
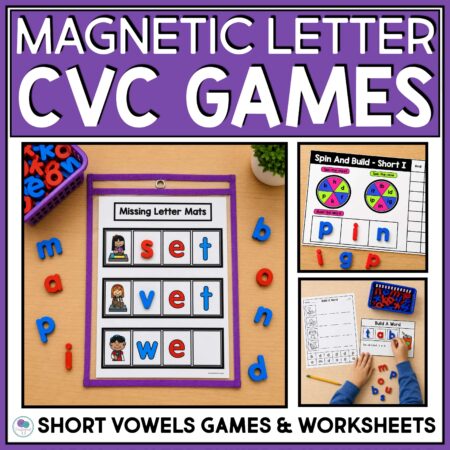
As part of our guided reading strategies, we played these simple phonics games. They were quick and a fun way to practice our decoding strategies. We probably played a phonics game once or twice a week. I had games for CVC words, blends, digraphs, and vowel pairs that we used throughout the year.
I liked using the games because I could differentiate them to match the skills for each group and they were simple to set up quickly.
5. A Tabletop Easel
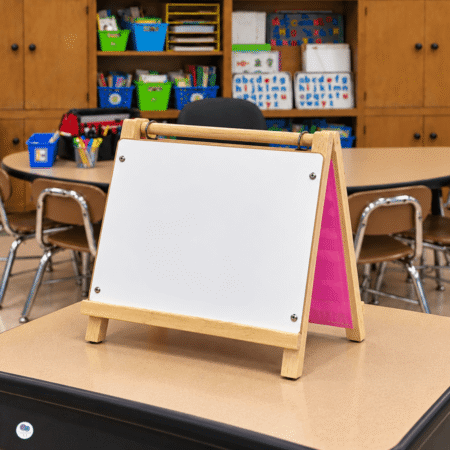
If it’s in your budget, a tabletop easel is a must. It takes up very little space but you can use it for your mini lessons. My easel had a dry erase board on one side and a pocket chart on the other. So I could easily flip it around to do word sorts and other activities in the pocket chart.
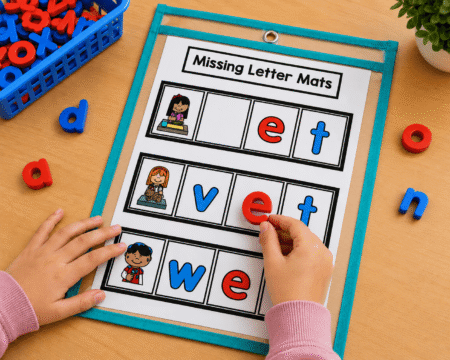
6. Building Word Mats
Another favorite of mine to use in my guided reading strategies were these building word mats. We would make words with magnetic letters and they were differentiated, so I could use them with my struggling readers and advanced kids. They were another quick and fun way to practice our decoding skills.
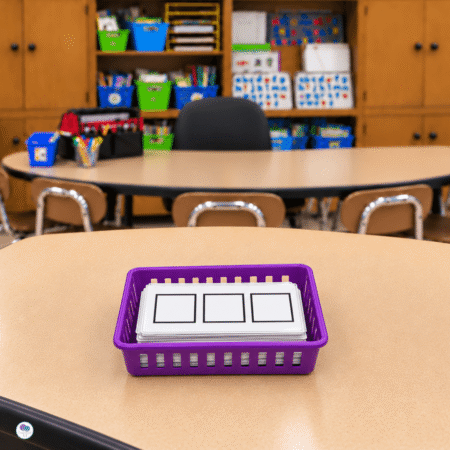
7. Elkonin Boxes
I had a basket of laminated Elkonin boxes with three, four, or five squares. Kids could build words with letter tiles or write with an Expo marker. We used these a lot when learning new words.
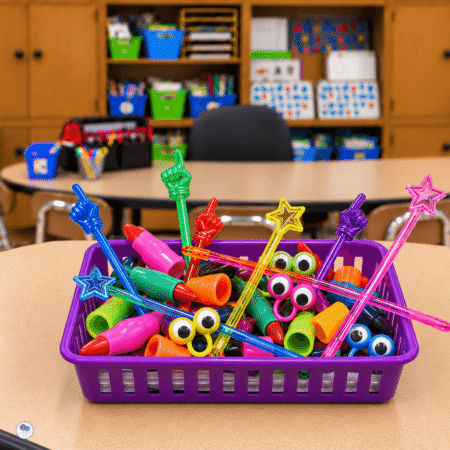
8. Reading Pointers
A fun thing to add to your guided reading strategies are some little pointers. I didn’t use reading pointers every day, but they were fun to pull out once in a while to keep engagement high. We used little wands, eyeball rings, and witches’ fingers around Halloween.
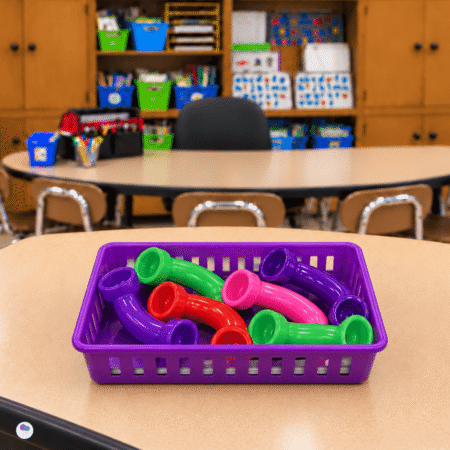
9. Whisper Phones
And finally, whisper phones are a nice addition to your guided reading strategies. They aren’t absolutely necessary if they aren’t in your budget, but they’re nice when kids read to themselves.
One of my guided reading strategies was to have each child whisper read to themselves, at the same time, so I could pull my chair over and listen. With whisper phones, kids could hear themselves reading and they would help them catch their own mistakes. Plus, they thought the phones were cool!
4. Organize Books and Daily Lesson Materials
As you’re setting up your guided reading area, you’ll need to think about how you’ll store all of your materials. It’s best to keep everything that you’ll be using within reach. The last thing you want to do is leave your group to go searching for books or other materials because your time in small group is precious. Those minutes tick by quickly. Here’s how I organized books and lesson materials behind my table:
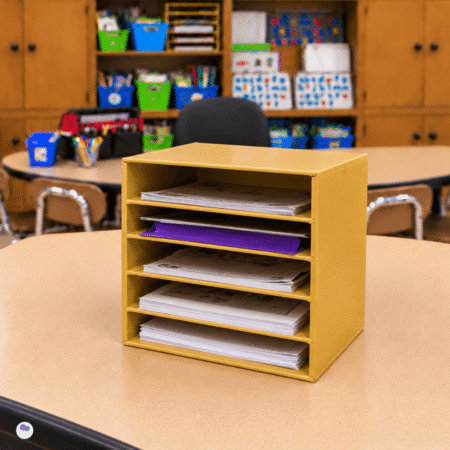
1. Paper Organization – Along with my toolbox, I had a paper sorter on the shelf behind me. It held the materials I planned to use each day. There was a section for each reading group with the books we would be reading that day or any worksheets we might be doing. If I had a game planned for that day, I would put it with those materials too. It made it very easy for me to grab exactly what I needed as we transitioned from one group to another.
The bottom section of the paper sorter is where I kept the materials I would need for the rest of the week. I would paperclip them together by group and then at the end of our small group time each day, I would quickly sort what I needed for the next day into the group slots. It was very quick and I could do that while the students were cleaning up at centers.
2. Book Boxes – Another important organizational tool are book boxes. My leveled readers and decodable readers were organized in little sets, ready for that day’s lesson and I kept them on a shelf behind my small group table.
3, Sight Words – I also had a small box with all of our weekly sight words. I kept them clipped together by week and could pull them to practice when needed.
4. File Cabinet – I also had a small two-drawer file cabinet beside my table where I kept phonics games, running record forms, vocabulary words, comprehension questions, and graphic organizers ready for any planned comprehension work.
5. Lesson Plans – Finally, my lesson plan book always sat right on the table, ready for me or a substitute.
5. Create a Smooth Small Group Routine
The last thing you want to keep in mind as you’re planning your guided reading strategies is how to work efficiently during this time. Transitions and fumbling around for supplies can waste a lot of time, so here are a few tips to keep your groups running smoothly:
- Keep all your needed supplies at the table so kids didn’t need to bring supply boxes or workbooks.
- Pass out all of the materials yourself, rather than have student helpers. It’s nice to have kids involved but small group time needs to move quickly and you can be much more efficient.
- Keep a clipboard where you can take anecdotal notes on student progress as you’re working with your small groups. You might think you’ll remember but jotting a quick note will assure you don’t forget. I had a clipboard with sticky notes for each student. When a sticky note was filled, I transferred it to another sheet in the student’s file.These anecdotal notes gave me evidence of what we were working on and how each child was doing.
- At the end of small group, create a routine for student work. If kids completed a worksheet during your time together have them quickly put it in their mailbox or folder.
- While students are transitioning from one group to the next, quickly grab what you need for the next group so you’ll be ready. This process should take no more than a minute.
Troubleshooting Your Small Group Setup
What if you don’t have space for storage? Try a rolling cart or portable caddy. Keep today’s materials beside you and store the rest elsewhere.
What if students keep interrupting your small group? Teach what to do when they get stuck and when they should come to you immediately. Practice before opening your groups. My classroom routines guide can help you plan those expectations. For children calling out during instruction, try these strategies for blurting.
What if transitons are taking too long? Have a routine for returning supplies, putting papers away, and moving to the next activity. Practice those routines over and over until the students can do it quickly and quietly. If kids finish early, teach a clear early finisher routine.
Small Group Setup Checklist
Before your next reading group, check these five things:
- I can see the whole class.
- Every student has room to work.
- Frequently used supplies are within reach.
- Each group’s books and lesson materials are ready.
- Students know the cleanup and transition routine.
More Time Teaching
When you are planning your guided reading strategies in first grade, it’s easier when your space is ready. Start with simple, small changes. You don’t need expensive furniture. Just place yourself where you can see your students, reach your supplies, and get started teaching.
Looking for activities to use during your small groups? These word work activities are quick to set up and will add more engagement during your small group lessons, literacy centers and more. Click here to learn more.

Hi, I’m Molly, the creative mind behind Firstieland. With over 35 years of experience in early childhood education, I’m your primary support for resources that will save you time and make learning feel like play. Learn more about my mission for Firstieland here.