Teaching Students To Work Independently In First Grade
One of the biggest frustrations teachers have during literacy centers is constant interruptions. You finally sit down with your small group, and within a few minutes someone needs a pencil, another student doesn't know what to do, someone can't find the glue sticks, and another child is already finished and asking, “Now what?”
After more than 35 years of teaching first grade, I learned that independent centers don't happen by accident. They happen because students are taught exactly how to work independently before center time ever begins.
If you want to meet with small groups without constant interruptions, here are the five steps that will make the biggest difference in your classroom.
Watch On YouTube Here
Step 1: Teach Your Classroom Routines First
Before you ever begin centers, create systems and routines for everything your students do. When you have daily routines that you follow and procedures for everything, kids learn them quickly and become much more self-sufficient. For example, what happens when a student's pencil breaks? That may seem like a small problem, but during center time it's one of the biggest reasons students interrupt your small groups.
Decide ahead of time what that system will be in your classroom. Are students allowed to sharpen pencils during centers? Do they keep several sharpened pencils in their supply box?

In my classroom, every student had a small individual pencil sharpener with a container to catch the shavings. If they needed to sharpen a pencil, they simply did it themselves. It was a simple system that worked wonderfully, and I rarely had students interrupting my small groups because of broken pencils.
Spend the first couple of weeks teaching and practicing your classroom routines. It's the first step in teaching students to work independently during centers. I had a list of 40 routines that I taught the first few weeks of school. Grab the free checklist here.
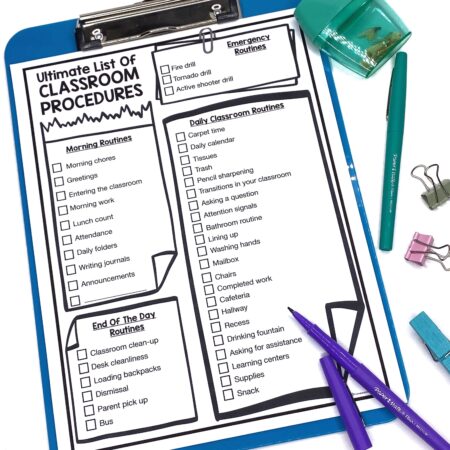
The time you invest at the beginning of the year will pay off for months to come. Learn more about what routines to teach here.
Step 2: Introduce One Center at a Time
One of the biggest mistakes I see teachers make is introducing every center at once. They explain all of the centers in one day, review the rules, and expect students to begin the next morning. That's a recipe for disaster.
Instead, introduce one center at a time. I usually started with my classroom library because it required very little preparation, students already enjoyed looking at books, and they could usually use it independently.
To begin, gather your students around the center. Show them every material they'll be using. Explain exactly what they can do. Talk about how to use the materials correctly, where everything belongs when they're finished, and what to do if they need more supplies.

Next, choose one or two students to model the center while the rest of the class works quietly at their seats. As they work, point out everything they're doing correctly. Afterward, gather everyone together and discuss what went well and what could be improved. Create a short list of center rules together.
The next day, choose different students to model the center again and repeat this process for every center in your classroom. It may take two or three weeks to introduce everything, but by the end of that time your students will know exactly what to do. Teaching students to work independently in this manner is time well spent and will be worth it in the end!
Step 3: Plan for Problems Before They Happen
Even after you've taught your centers well, problems will happen. Usually they fall into one of two categories:
- Students don't know what to do.
- Something goes wrong at the center.
The first problem is solved through explicit teaching and lots of practice. The second problem requires a system. Make a list of every center you plan to have in your classroom and then think through every possible problem that could happen. What if they run out of paper? What if a marker dries out? What if a crayon is missing?
Now create a plan so students can solve those problems without interrupting your small group. An easy solution is to create an area where kids can independently get extra supplies like crayons, pencils, glue sticks, scissors, and paper.
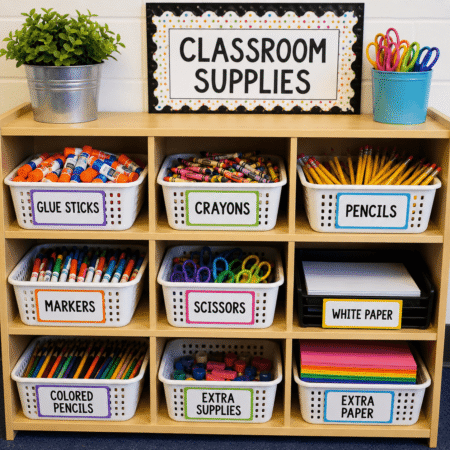
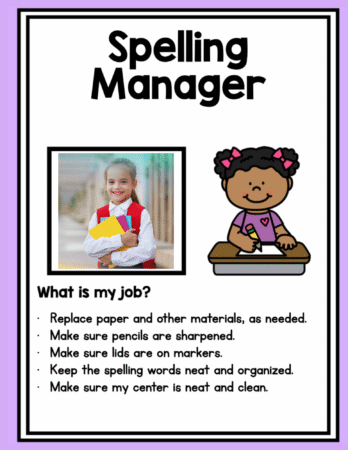
Of course, given free reign, some students will quickly discover they always “need” a brand-new glue stick. My solution to that was to assign center managers. Each center had a center manager sign with the name of one student responsible for keeping materials organized, replacing supplies, sharpening pencils, and helping kids solve simple problems while I was in small group. Instead of interrupting me, students knew to ask the center manager first.
Step 4: Have a Plan for Fast Finishers
Students who finish early need to know exactly what to do next. If your centers include at least 4-5 activities, most kids will stay busy throughout the entire rotation. I tried to keep center rotations around 15 to 20 minutes because that's usually the perfect amount of time for a small group and to keep kids engaged at centers.
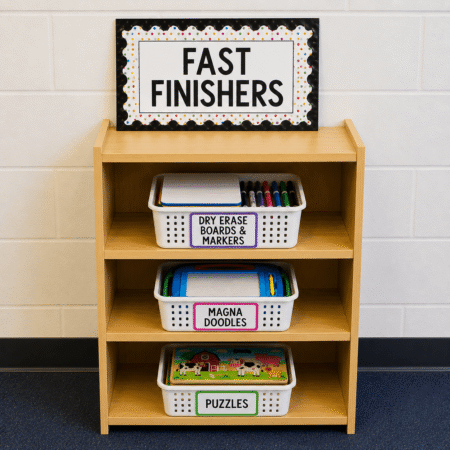
If students finished everything early, I always had additional options available. For example, my math center included extra tubs filled with pattern blocks, Unifix cubes, and other hands-on materials. I also had a fast-finisher shelf with simple activities like puzzles and dry erase boards. And then finally, kids could always read quietly from their book box if they finished early.
When you have some simple routines like this set up for fast finishers, your students will always know what to do next without asking you.
Step 5: Teach Smooth Transitions Between Centers
The final step in teaching students how to be independent is how to move from one center to the next. Transitions may only take a minute or two, but if students don't know exactly what to do, they can quickly become loud and chaotic.
Before your students ever begin rotating independently, teach them exactly what a transition should look like. Show them how to clean up their current center, put every material back where it belongs, and check that the center is neat before leaving. Then teach them how to quietly move to their next center and get started right away.
One way to do this is with a rotation chart so students always know where they are going next. Instead of stopping to ask, “Where do I go now?” they can simply look at the chart and move to their next center on their own.
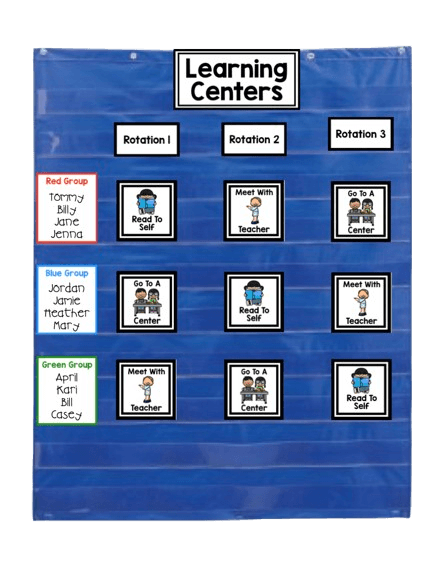
The more you practice your transition routine during the first few weeks of school, the smoother your center time will run for the rest of the year. Those few extra minutes of practice are well worth it because every smooth transition means more learning time and fewer interruptions for you.
Teaching Independence Takes Time
One of the biggest lessons I learned during my teaching career is that independent classrooms aren't created overnight. The first few weeks of school are an investment. Every routine you teach…every procedure you practice…every center you model…helps build the independence your students will use for the rest of the school year.
When students know exactly what to do, everyone benefits. Your centers will run more smoothly and you finally get uninterrupted time to work with your small groups.
Need a center management system that really works?
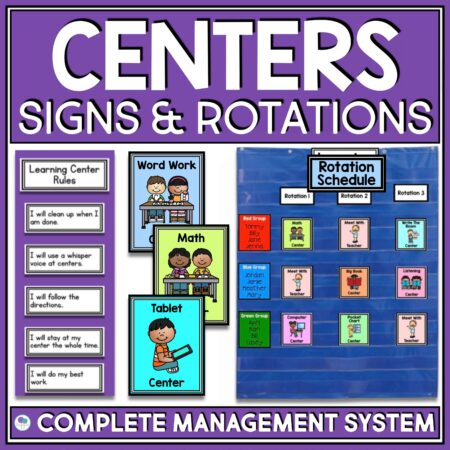
If you struggle to keep centers organized and running smoothly, this management system is your solution with center labels with pictures, editable rotation charts, and an easy-to-follow schedule. Everything you need to take the stress out of running centers!
Want More Literacy Center Ideas?
Head over here next: 25 Word Work Centers For 1st Grade

ABOUT THE AUTHOR
Hi, I'm Molly, the creative mind behind Firstieland. With over 35 years of experience in early childhood education, I'm your primary support for resources that will save you time and make learning feel like play. Learn more about my mission for Firstieland here.