Do your students hate writing? If you struggle to get more than a few words from your students before they say “I'm done”, you may need more modeling from the teacher in the form of shared writing.
The Definition Of Shared Writing
I love this quote from Stephen King because it is so true in a first-grade classroom. “If you want to be a writer, you must do two things above all others: read a lot and write a lot.”
A good writing program follows the writing workshop model that includes these four components. You can read more about each of these here.
- Shared Writing
- Interactive Writing
- Guided Writing
- Independent Writing
There is a gradual release of responsibility within the writing workshop model and the teacher has the highest level of responsibility in shared writing. This means that the teacher is doing most of the work while the students help. Shared writing gives the teacher the opportunity to model the writing process to the students.
Why Is Shared Writing Important?
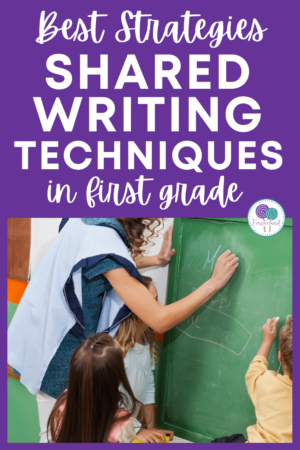
During the shared writing process, the students and teacher work together to create a piece of writing with the teacher acting as the scribe. Usually, the teacher will write on a large sheet of chart paper or the board where all students can watch her writing.
There are many opportunities in your day to model what good writing looks like to your beginning writers. This is where you'll show students that you begin your writing at the top of the page. You can show students how to begin a sentence with a capital letter, move from left to write leaving spaces between words. This is where you introduce punctuation to students and show them how to use it in a sentence.
What Materials Do You Need?
Shared writing is a simple process and you probably have everything you need to get started today. Here are some of my favorite materials that I use daily.
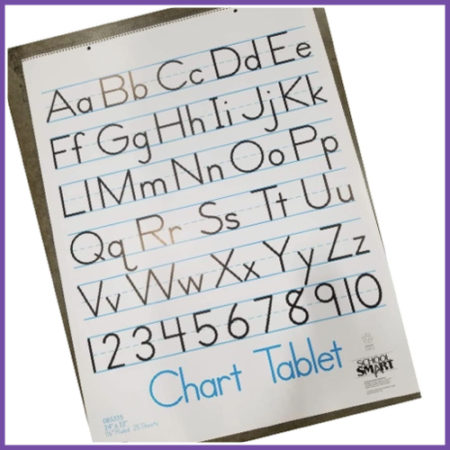
1. Chart Paper – You can purchase lined or unlined chart paper for your shared writing activities. If you prefer, you can simply write directly on your board. I prefer to use this 24X32 inch chart paper because you can hang it in your room and students can refer back to it over and over.
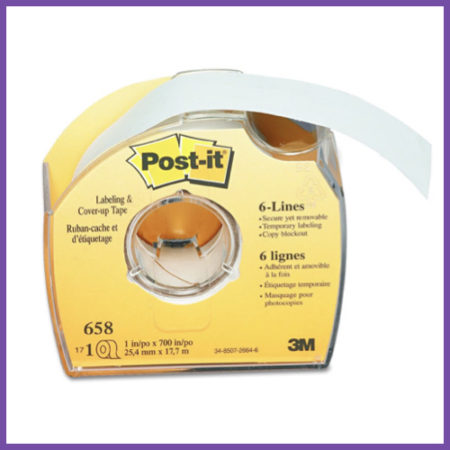
2. White Post It Tape – We call this our “boo boo” tape and use it to cover mistakes on the paper. You can simply cover your mistake and write directly on top of the tape. It's perfect to use for both shared and interactive writing.
3. Crayola Markers – My personal favorite marker for shared writing is the washable Crayola brand. I use them for everything, including when I make my anchor charts. I love that they come in a variety of colors. Some people prefer Mr. Sketch because they come scented and kids love that!
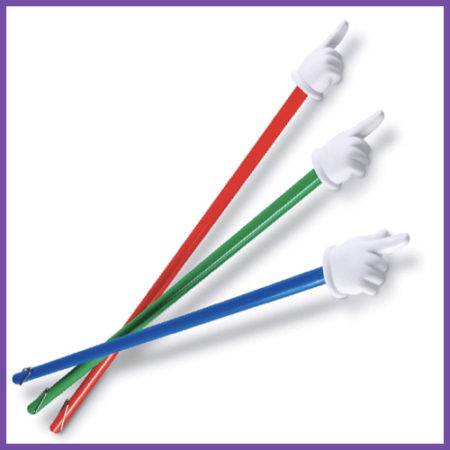
4. Pointer – I like to use pointers in my classroom for shared reading and writing. We use the pointer to reread our writing. Sometimes I'll call upon a child to come up and point to our writing while the rest of the class reads it out loud.
How To Do Shared Writing
1. Prepare Your Materials
Get your materials ready ahead of time. Hang your chart paper where you can reach it easily. Have your markers and correction tape ready.
2. Choose A Topic
In the shared writing process, the teacher will do the writing but students are also involved. Before beginning the writing process, decide on your topic. You can do this ahead of time or have the students help you generate a topic.
Tell your students that they'll be helping you write something today. You can do shared writing with any genre of writing – procedural, opinion, narrative, informational, and letter writing.
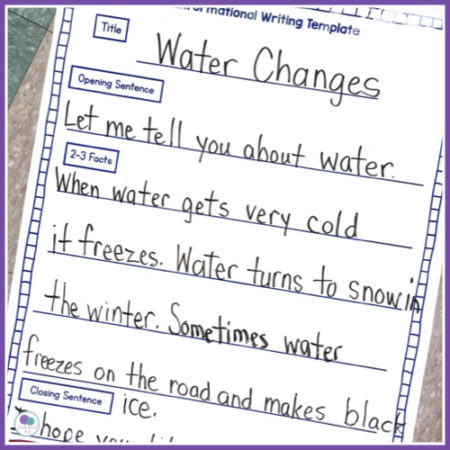
Tell the students you'll need their help deciding what to write and how to write the words.
3. Model Your Writing
As you begin the writing process, tell the students what you are doing. This is one of the most important parts of shared writing. This is where you're teaching students how to write.
Think of your first sentence and say it out loud to your students. Say the sentence slowly and count the words with your students. For instance, say to your students – “I'm going to write the sentence I have a brown dog. How many words is that? Let's count them I – have – a – brown – dog. Yes, that's five words. So when I write this sentence I should have five words.”
As you write the sentence, tell the students when you're capitalizing the sentence. Point out the spaces between the words and the punctuation at the end. Go back and count the words with the students and show them that there are five words, just like you counted in the beginning.
Take your students step-by-step through the writing process, explaining it as you go.
4. Involve The Students
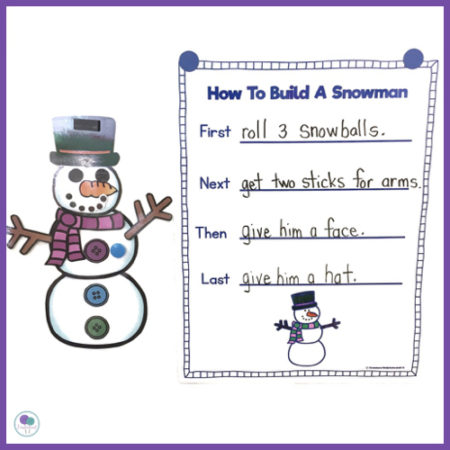
During the writing process, call upon your students for help. Ask them questions like “What should I write next?” or “Does that sound right?” Students can help you sound out words and tell you the letters they hear in each word.
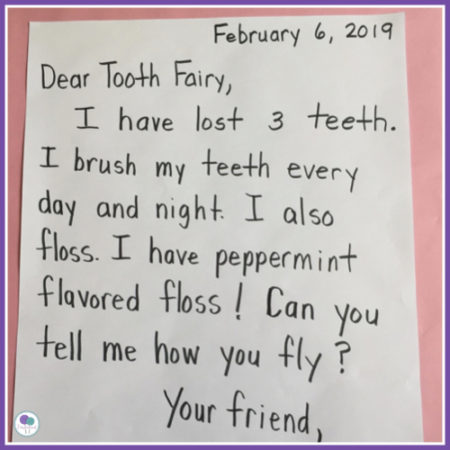
As you're writing, purposely make mistakes and see if any of your students catch the mistake. Forget to leave a space between words or forget to write a capital letter in a name. Your students will catch these mistakes and this is your teaching opportunity! This is when you can say “Yes, I did make a mistake! Thanks for catching that. How do I fix it?” Students will tell you to capitalize the letter or leave spaces. This is your chance to praise them for being such good writers and helping you.
When you involve your students in the shared writing process, they begin to build their confidence as writers. You show them exactly how to write a sentence or a story and as they watch you, they start to feel like they can be a writer too.
Ready to get started on shared writing in your class? These monthly journals include google slides and printable journals which are perfect for your shared writing lessons. Demonstrate the writing process to students using the google slides and then have them practice independently in their journals.
